Introduction
A loose laptop DC jack can be a frustrating issue, leading to intermittent charging, unexpected shutdowns, and potential long-term damage to your device. This problem is more common than you might think, especially for laptops that have seen significant use or have been subjected to rough handling. Fortunately, with the right guidance, you can identify and fix a loose Laptop DC jack yourself, saving time and money.
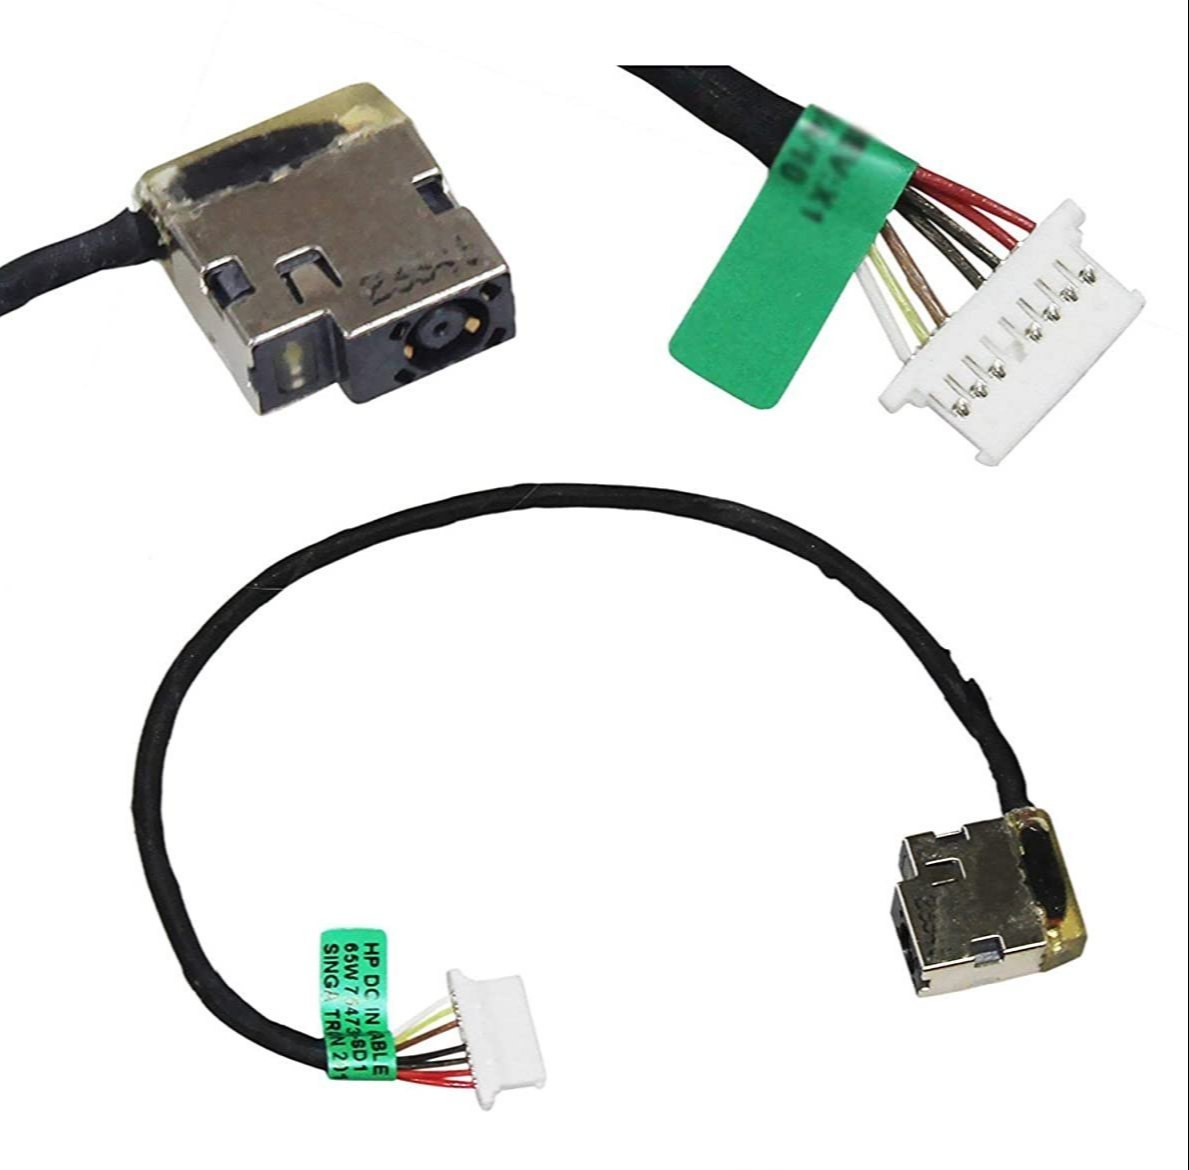
What is a DC Jack?
The DC jack is the port on your laptop where you plug in the charger. It’s responsible for transmitting power from the charger to the laptop’s internal components. Over time, the DC jack can become loose or damaged due to various factors such as:
Frequent plugging and unplugging:
Constant insertion and removal of the charger can wear down the DC jack over time, making it loose.
Physical impact:
Dropping the laptop or applying force to the charging cable can loosen the DC jack.
Poor design or material:
Some laptops have inherently weak DC jacks that are prone to loosening.
Cable tension:
Pulling the charging cable sharply or allowing it to dangle can stress the DC jack.
Identifying a Loose DC Jack
Before attempting any repairs, it’s crucial to confirm that the DC jack is indeed loose.
Intermittent Charging:
When you plug in your charger, the charging indicator light flickers on and off, or the battery icon in the system tray shows intermittent charging. This behavior often indicates a loose connection in the DC jack.
Physical Movement:
Gently insert the charger into the DC jack and wiggle it slightly. If you notice any movement or play in the jack, it may be loose. A stable DC jack should feel firm and secure.
Power Loss:
If your laptop suddenly shuts down when the charger is nudged or moved, it’s a strong indication that the DC jack is loose. This is because the connection between the charger and the laptop is disrupted.
Visual Inspection:
Carefully inspect the DC jack for any visible signs of damage. Look for cracks, bent pins, or any other abnormalities. A flashlight can be useful to get a better view inside the jack.
Use a Multimeter:
A multimeter can be used to test the continuity of the DC jack. Set the multimeter to the continuity mode, and check if there’s a stable connection when the charger is plugged in. If the reading fluctuates, it may indicate a loose connection.
Fixing a Loose DC Jack
There are several methods to fix a loose DC jack, ranging from simple tightening to replacing the jack entirely. Let’s explore these solutions step by step:
Basic Solutions
1. Tightening the Jack:
If the DC jack is slightly loose but not damaged, you might be able to tighten it without opening the laptop.
Steps:
Turn Off Your Laptop:
Always power off and unplug your laptop before attempting any repairs to prevent electrical shock or damage.
Remove the Battery:
If your laptop has a removable battery, take it out to avoid any electrical mishaps.
Examine the Jack:
Use a flashlight to inspect the inside of the DC jack. Look for any debris or obstruction that might be causing the looseness.
Use a Toothpick:
Carefully insert a toothpick or a similar non-conductive object into the jack to gently push any misaligned components back into place. Be cautious not to apply too much force.
Test the Connection:
Plug in the charger and see if the connection feels more secure. If the problem persists, you might need to try other solutions.
2. Adjusting the Charger Plug:
Sometimes, the problem might not be with the DC jack but with the charger’s plug.
Steps:
Inspect the Charger:
Look for any bends, breaks, or other signs of damage in the plug.
Use Pliers:
If the plug’s metal pin is bent, gently straighten it with a pair of pliers.
Check the Fit:
Plug the charger back into the DC jack and see if it fits snugly. A proper fit should provide a stable connection without any wiggling.
Intermediate Solutions
3. Reinforcing the DC Jack:
If the jack is slightly loose within the laptop casing, reinforcing it can provide a more secure fit.
Steps:
Open the Laptop:
Use a screwdriver to carefully remove the screws securing the laptop’s bottom cover. Keep track of the screws and their locations.
Locate the DC Jack:
Identify the DC jack on the motherboard. It is usually located near the edge of the laptop where the charger plugs in.
Secure the Jack:
Use a small amount of adhesive or epoxy around the base of the DC jack to hold it firmly in place. Be careful not to let the adhesive seep into the jack itself.
Reassemble the Laptop:
Once the adhesive has set, reassemble the laptop by reversing the disassembly steps. Ensure that all screws are tightened securely.
Test the Connection:
Plug in the charger and test the connection. The jack should now feel stable and secure.
Advanced Solutions
4. Re-soldering the DC Jack:
If the DC jack is completely loose or detached from the motherboard, re-soldering might be necessary. This process requires soldering skills and tools.
Steps:
Disassemble the Laptop:
Follow the steps to open the laptop and access the DC jack on the motherboard.
Remove the Old Solder:
Use a soldering iron and desoldering pump to carefully remove the old solder from the DC jack’s connections on the motherboard.
Reseat the DC Jack:
Ensure the DC jack is properly aligned with its mounting holes and electrical contacts on the motherboard.
Solder the Connections:
Using a soldering iron, apply new solder to the DC jack’s connections. Ensure that the solder forms strong and secure bonds.
Check for Short Circuits:
Inspect the soldered connections for any bridges or short circuits. Use a multimeter to verify proper connectivity.
Reassemble and Test:
Once satisfied with the soldering, reassemble the laptop and test the DC jack’s stability and functionality.
5. Replacing the DC Jack:
In cases where the DC jack is irreparably damaged, replacing it with a new one is the best solution.
Steps:
Purchase a Replacement Jack:
Find a compatible replacement DC jack for your laptop model. Ensure it matches the specifications and dimensions of the original.
Disassemble the Laptop:
Open the laptop to access the DC jack as previously described.
Desolder the Old Jack:
Carefully remove the old DC jack by desoldering its connections.
Install the New Jack:
Insert the new DC jack into the mounting holes and align it with the electrical contacts.
Solder the New Jack:
Use a soldering iron to secure the new jack’s connections with fresh solder.
Reassemble and Test:
Once the new jack is securely soldered, reassemble the laptop and test the charging functionality.
Preventing Future Problems
Once you’ve fixed your laptop’s DC jack, it’s essential to take preventative measures to avoid similar issues in the future:
Avoid Tugging on the Cable:
Always pull the charger out by grasping the plug, not the cable itself. This reduces stress on the DC jack and the plug.
Use a Surge Protector:
Power surges can damage your laptop’s internal components, including the DC jack. Using a surge protector can safeguard your device.
Maintain a Stable Work Environment:
Keep your laptop on a stable surface to prevent accidental movements that could damage the DC jack.
Regularly Clean the Jack:
Dust and debris can accumulate in the DC jack, leading to poor connections. Use compressed air to clean the jack periodically.
Avoid Overheating:
Excessive heat can weaken solder joints. Ensure proper ventilation and cooling for your laptop.
Inspect Cables:
Regularly check your charging cable for signs of wear and tear. Replace damaged cables promptly to prevent stress on the DC jack.
Consider a Docking Station:
If you frequently use your laptop at a desk, consider using a docking station. This reduces wear on the DC jack by minimizing the need for constant plugging and unplugging.
When to Seek Professional Help
While many users can successfully fix a loose DC jack on their own, there are situations where professional help is advisable:
Lack of Experience:
If you’re unfamiliar with laptop repair or lack the necessary tools, it’s safer to consult a professional technician.
Warranty Considerations:
Attempting DIY repairs on a laptop under warranty might void the warranty. Check the terms and conditions before proceeding.
Severe Damage:
If the DC jack is severely damaged or other components are affected, a professional diagnosis is recommended.
Professional repair services can diagnose the issue accurately and provide a lasting solution. While it may cost more than a DIY approach, it ensures the safety and longevity of your laptop.
Conclusion
A loose laptop DC jack is a common problem that can lead to significant inconvenience and potential damage to your device. By accurately identifying the issue and applying the appropriate fix, you can restore your laptop’s charging functionality and extend its lifespan. Whether you choose a DIY approach or seek professional assistance, taking action promptly is key to preventing further complications. Remember to follow preventative measures to avoid similar issues in the future, ensuring your laptop remains a reliable tool for years to come.